Pages

Monday 31 December 2012

Happy New Year from NE30 to IP12 x

 
Happily, as the years go by, some things don't change much. The coastline at Tynemouth and Cullercoats was truly fabulous today. For the first time in (what seems like!) weeks the sun was shining and everyone (and their dog!) was out and about enjoying a New Year's Eve wander along our beautiful seashores.
 
Johnny and I arrived in Tynemouth about 11:30am and headed for Crusoes Cafe for breakfast. It was absolutely heaving, but no surprise - what a fantastic place! Fancy not having been there before! What was I thinking?
 
(I've decided that Crusoes could be a great venue for the UK leg of my 50th birthday celebrations...)


 After we'd stuffed ourselves with our respective bacon and vegetarian breakfast butties, John and I  wandered off towards the Priory... along the beach, over the rocks, searching for signs of life in the pools and taking lots of photos.  The weather just kept getting better and better until there was not a sign of a cloud in the sky.  The wind was quite strong off the land but this just made the breakers more interesting and blew our 2012 cobwebs away into the North Sea:
  
 
(that's my first ever YouTube upload btw!)
 
One of the reasons I love going to visit the coast is because I find so much artistic inspiration whenever I go there.  Today was no exception, so many unusual and beautiful rocks, and the pools were full of crystal clear water and all edged with lovely purple furry sea plants and jammed full of thick strappy seaweeds....


Looks alive this one...


 The sea was so beautiful once the sun came out with lots of fine spray from the strong winds and the breakers catching the light....


It was an all-round wonderful day, thoroughly appreciated, and, as promised, 
I'm sending a few postcards from NE30 to IP12 with much love
 
 HAPPY NEW YEAR!


First impressions of Newcastle College's BA Creative Practice

Well you asked for it...

There now follows a good old (and quite long!) ramble about my experiences on the BA Creative Practice at Newcastle College - peppered with images of recent ceramic works just to make it seem less wordy.... and to prove that I'm doing more than just written work!

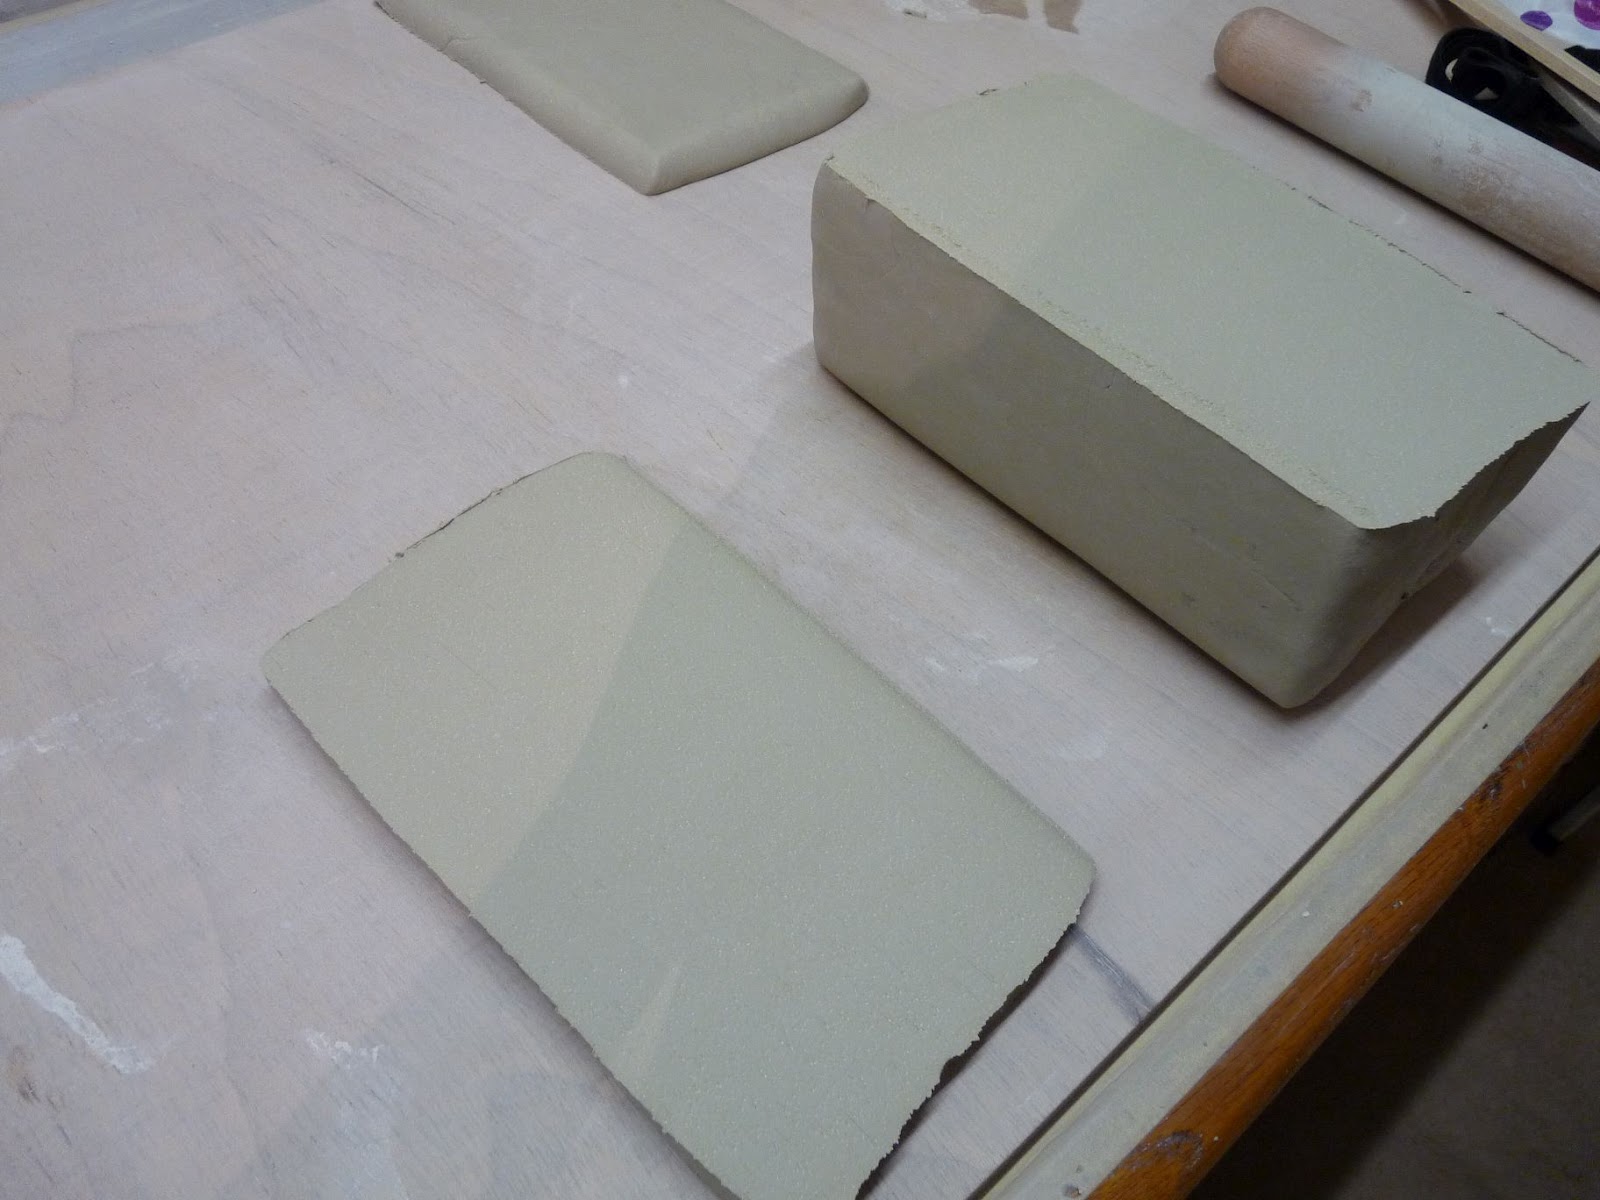
Aquarium caves with non-toxic dolomite glaze - this is a test piece 
 made for Tynedale Aquatics who have kindly offered to trial some of my aquarium
pieces in the tanks in their shop at Mickley Square near Prudhoe
 
Newcastle College is now teaching its final (ever) Foundation Degree in Contemporary Ceramics with no new intake this year following the College's decision to shelve the specialist ceramics FdA in favour of a more generic arts-based certificate known as the Foundation Degree in Contemporary Applied Art and Design: http://www.ncl-coll.ac.uk/course-information.aspx?courseid=200. As things stand, we don't really know if this change a good one or a bad one because the replacement course is in its first year - so we will have to wait and see what its students have to say...

The general mood in the ceramics department, though, suggests that the change is not a good one.  Part of the reason for this downturn in mood is due to the random comings and goings of 'general arts' students who arrive, in large troupes, and take over the ceramics studio for short instruction in some or other pottery technique and then disappear back to 3D design or woodwork or interior architecture... or wherever else they came from. This random influx is quite unsettling for the established potters in the department who are used to the college ceramics studios being the exclusive domain of dedicated ceramicists who pretty much live and breathe pottery!

More aquarium spawning and hiding caves made for Tynedale Aquatics
(That isn't the moon in the background)
 Having said that, there are some really excellent (and very inspiring) 'general arts' students kicking around the department, some of whom have already found their natural home in ceramics and perhaps wouldn't have had the chance to do this without the recent changes.  It's an ill wind that blows no good...

But... anyway... before I go off on a rant about the somewhat ruthless business practices that led the college to axe the ceramics FdA along with various other pretty nasty cuts, I'll try and keep on topic...

And, yes, this post is meant to give my opinion on the BA Creative Practice (Arts) or 'Level 6' (as it is also known) - i.e. the course I began in September 2012.

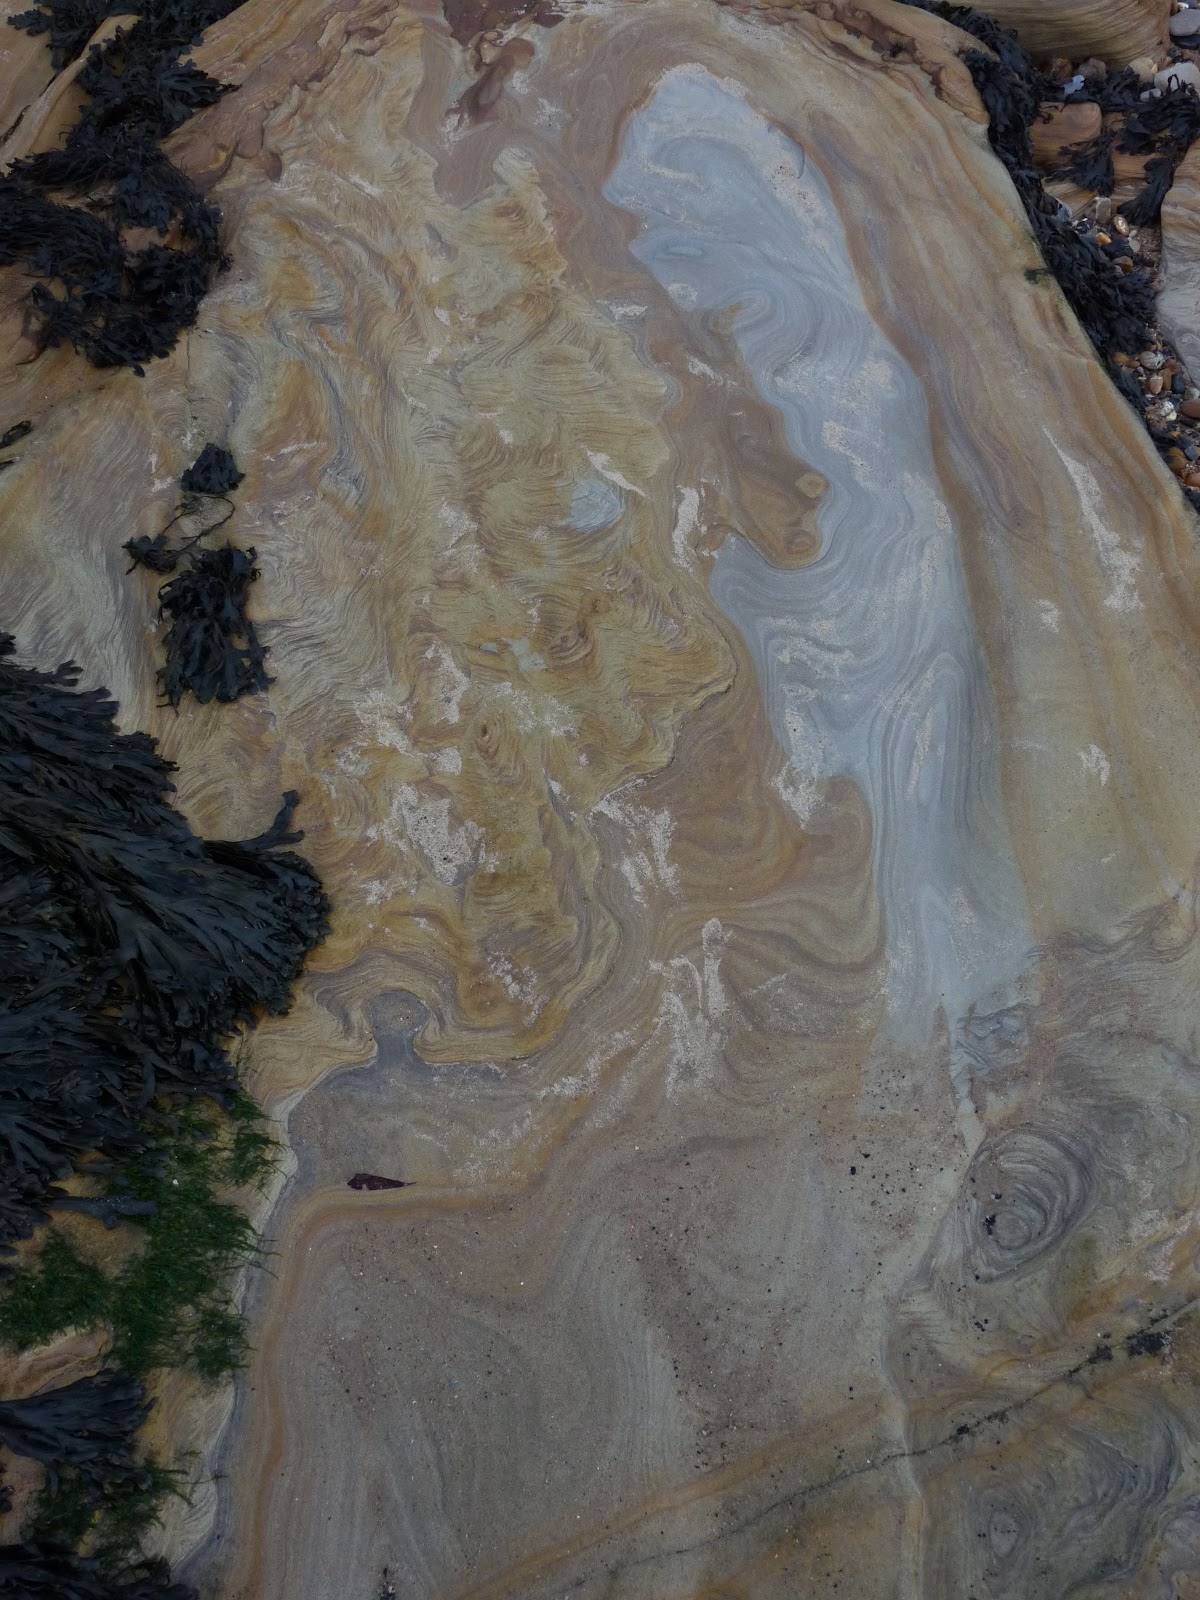
Old rope... found lying around the waterline on the beach...

So, first of all to confirm: it is still possible to specialise in ceramics to degree level at Newcastle College. You need to complete the general applied art and design FdA (or an equivalent) and then you are able to apply to specialise in ceramics at level 6. Just one ceramics FdA graduate opted to carry on studying at Newcastle College this year:  me!  (The rest of my cohort went off to various other places: (delete as appropriate) Sunderland University's Glass and Ceramics degree course/Northumbria Craft Pottery/India/their own lovely studio.....) 

Not only am I the only potter on the BA Creative Practice (Arts), I'm in a very, very small minority of part-time students (I think there are about 4 of us out of the 100s of full-timers).

The fact that I'm a lone potter doesn't matter: the course is entirely relevant to any arts discipline. 

The fact that I'm only able to attend the college one day a week does matter. My first piece of advice to anyone contemplating this course is: try and do it full-time!

The whole focus of the course is for full-time students and there is little (often no) consideration for how a part-time student might benefit from all of the 'enrichment' activities the programme has to offer, which is sad.  It is sad because the course has a lot of great activities and resources to offer and could so easily be made much more accessible to part-time and distance learners if the course designers were to incorporate some proper VLE provision into their plans.

Seaweed...

The lectures I've attended so far have been very good, some have been excellent - all have been very interactive and enjoyable. I've even learnt stuff! :-) However, I've missed out on many of the talks from professionals in the arts industry and arts funding bodies because they've taken place on days when I can't get into the college. Since the college doesn't record its lectures (in any way, shape or form!), there's no way I can hear these talks. It's frustrating.

I also can't participate in the student 'group activities' (of which there are many throughout each week), although this doesn't bother me so much I have to admit. Why? Oh I dunno... it's an 'age thing', I think. I certainly feel pretty ancient compared with most of my cohort!  Actually, that's another thing: average age on the BA is about 20 (maybe younger!).  Not that that really matters but it's another fact worth being aware of if you're a middle-aged potter thinking about embarking on this route of study. (I'm sure it'd probably do me good to work with younger, more energetic, less cynical people :-|  )

My experience with the teaching and support staff at Blandford Square (where the course has its teaching base) has been really good.  All of the staff and support folk are very likable - all are enthusiastic and very knowledgeable in their fields of expertise. They are a lovely team of people, always keen to offer help and good advice, and there's a really nice 'vibe' about the place.  I like going there. The IT facilities (all Mac) are great too.  I've also learned a whole load of stuff I never knew about the resources available at the college library... beginning with a talk by the brilliant 'Library Richard' who writes (wrote!) a truly great and very educational blog: http://libraryrichard.blogspot.co.uk/ which  (I've just this minute noticed) the college has also now axed. I could honestly scream on Richard's behalf for the stupidity and pettiness of that decision.

Moving swiftly on... (breathe in, breathe out...)

The course structure is fine and pretty much what you'd expect;  it's broken down into modules which cover several main chunks of work, each of which drills down in the next. So you start by writing a Proposal (this basically expresses what you are going to do in order to attain your BA) which feeds into your Planning document which feeds into your Development work which eventually becomes your Project Realisation.  It's all very logical and takes the age-old good practice approach of divide and conquer to get the (big) job done.  Lectures incorporate plenty of tips and good advice on how to approach researching your subject, writing up your research, etc.

The major written work is a Dissertation of between 7,000 and 10,000 words (depending on the approach taken: vocational (less writing) or academic (more writing!))  Students have the choice of writing up a dissertation based on their arts practice project work (for which they'll already have the foundation of their dissertation, made up from the various finished documents listed above) or writing on any other arts subject (which may or may not be related to their own arts practice).  One advantage of doing this part-time is that I don't have to make my mind up about my dissertation subject matter until next September!

For the practical elements of the course (i.e. making stuff) each student is assigned a main support contact within the college, for their particular area of arts practice, but is also encouraged to engage with people from all related arts disciplines - both inside and outside of the college. The emphasis is on developing good professional and/or academic contacts who will help you to progress in your chosen area of practice or research. The main objective here is to help you move your practice away from the 'safety' of the college environment and out into the real world.... and also to provide an opportunity to learn from other practitioners' experience. It's a good approach and the college staff have many contacts and resources to share.

So, what else can I tell a prospective student of the BA? 

Well...  there's the matter of course fees. If you started your FdA prior to 2012, make sure you ensure you continue to benefit from the same low fees you've paid so far. I heard rumours recently that the college were asking some ridiculous sums for the part-time BA Creative Practice. For me, the fees were roughly £700 per year because the BA is simply another level (6) of a course I started well before the recent HE course fee increases. It is accredited by the same Leeds Met body who ran the ceramics FdA (and don't let anyone tell you anything different).

I opted to pay my fees in 2 chunks (October and January) which is worth considering (even if you can easily afford the whole amount in one go) because, if you change your mind about the course after the first couple of months, you don't need to pay the rest of the year's fees.

I'm sure, if you were already on the FdA prior to 2012, that lower fees should apply whether you choose the full-time or part-time routes but you might have to haggle...

Anyway, I guess that's (more than!) enough said for now.  I'll return with (hopefully shorter) updates.  It's still early days on the course for me, I've yet to even hand in my first module's work - i.e. my Proposal - which is due end of January 2013 along with a viva (gulp!). 

If you're a prospective BA Creative Practice student who has managed to get to the bottom of this ramble and you would like to know more about the detail of the course, please feel free to get in touch via the comments options below or through my web contact page here: http://ambientceramics.com/contactform.html

 
HAPPY NEW YEAR!


Saturday 8 December 2012

Gingerbread houses and wind blown ice....

I don't know... usually I can't keep to any of my New Year's Resolutions, but this year it seems I've found at least one of them all too easy to fulfil: http://ambientceramics.blogspot.co.uk/2012_01_01_archive.html (paragraph 1)

However, it's definitely time for a bit of a catch-up I think! What have I been doing? Pretty much working flat out in my day job lately I'm sad to say.  However, this week the project I've been working on has gone 'live' so hopefully I'll have time again for more relaxing activities like blogging... and messing around with clay...

It hasn't been all work since my last blog post though.... 

In August, I entered some of my ceramic work for display (and sale) at the Jesmond EXPO, an event which is run every other year and raises money for St Oswald's Hospice.  As well as selling a good few pieces of my work, I won the prize for Best Craft in Show. The prize was presented to me by the Lord Mayor of Newcastle, Councillor Jackie Slesenger (St Oswalds is one of the charities she has chosen to support during her mayoral year). I was both amazed and delighted because many of the other craft exhibits at the EXPO were of such a high standard...  Here's the piece that won the prize:

Morpho-Ecology
Here's some other examples of my work that were included in the EXPO:
 

Fun Guy On The Beach 1 and 2
These are simple slipcast porcelain spheres set on to interesting bits
of driftwood found on the Northumberland coastline. 


Again these are pieces set on to driftwood found locally.

In September, I started my BA Creative Practice at Newcastle College.  This has been a pretty good experience so far but, due to the recent all-consuming demands of my day job at the University, I haven't really begun to sink my teeth into my college projects.  I am busy researching and writing my proposal for the college work I'll be doing for the coming two years.  More about that later hopefully....
 
Last weekend I entered Newcastle's first Gingerbread House Challenge organised by our very own Loopy Girl, Lisa Vincent.  It was really so much fun making the house and such a lovely escape from the stresses of work (of which there were many last week during the period just before the go-live!)  Here's my own slightly rickety effort at a modern gingerbread house complete with poppy seed gravel and edible 'real glass' windows:


Lots more pics (of much better houses!) on Lisa's blog: http://gingerbreadhouse-challenge.blogspot.co.uk/

I think one of the nicest things I've done for a while though was to take a trek up Cheviot on St Andrew's Day (that's 30th November for those who don't know) with John. We had such wonderful weather as you can see from these pics - blue skies and sunshine all day. The views were spectacular: 


Such a beautiful contrast between the snowy summit of Cheviot,
with the green and brown hills and fields beyond,
vivid blue skies and the misty shore line on the horizon.
 
This is wind-blown ice lying horizontal on the fence wires! 
John and I had a lot of fun rattling the wires and pinging it off!
(well, we're only 12 after all....)
When I was checking out our route and looking around Google images for inspiring pics to try to persuade John that a wander up Cheviot was (honestly) a great idea for a freezing winter day, I came across this blog: http://becausetheyrethere.com/ which is packed with superb photos and well-written posts - and lots of friendly banter on the subject of mountain walking around the UK and beyond. 
 
And, still on the subject of fantastic blogs.... whilst wondering up the hill and generally chatting about Life, the Universe and Everything (as you do) John and I talked a lot about our friend and colleague, Lorna who is currently battling with advanced lung cancer and not having an easy time of it at all. Lorna is pretty amazing: if anyone needs a bit of inspiration to keep going during the tough times in life, they should read her blog which begins here in The Summer of 2009 when Lorna retired from work in IT at Newcastle University and set off on a sailing voyage around the coasts of the British Isles... http://sealorna.blogspot.co.uk/2009/04/preparation-for-summer.html My thoughts are very much with Lorna tonight.
 

Thursday 6 September 2012

Waking up in time for autumn...


At last, my ceramic caves are in position at Blue Reef Aquarium. It's lovely for me to see them actually in use! They're in a great tank with some really beautiful fish swimming around and through them.  The contrast between the bright colours of the fish and the muted browns of the unglazed clay is perfect.  A true living work of art!  I'm so pleased with them.

And!  I made it into the local press:  http://www.newsguardian.co.uk/community/ceramic-cave-on-show-at-aquarium-1-4867825

So...  what about other news...  ?

Summer came and went... and I did not blog because I felt no compulsion to do so and there's no point wittering on if you've nothing much to say. I feel as if I've been in hibernation over the past few months, which is clearly wrong because one does not hibernate in summer!  But sometimes things get turned upside down and you just have to go with it. But... now I'm back and coming out of my hole just in time for autumn !   :-|

Nevermind...

Tomorrow night I'm planning to go the Biscuit Factory's Autumn Preview, having been invited by virtue of being on the mailing list of various participating artists, including one of my all-time favourites, Kevin Day, who will be exhibiting new works.  It's bound to be a brilliant exhibition - the Biscuit Factory always has stunning work on show.  Can't wait!

A week on Monday, it's back to school when my BA Creative Practice starts at Newcastle College.  I have no idea what I'll be doing exactly but I've been told to turn up at 1pm at the LifeStyle Academy so I'll just take it from there.... and report back later on that one....


Sunday 10 June 2012

Newcastle College's School of Creative Industries hosts Final Shows this week


Just a quick note to say that the Preview Evening of my Final Show on the FdA Contemporary Ceramic Practice takes place on Monday, 11th June from 6pm until 9pm, with viewings available until Thursday, 14th.  Details below:


It's definitely worth a visit - not just for our ceramics exhibition which offers a very interesting mix of styles and genres this year - but also for the really excellent work of the students of graphic design,  fashion, interior architecture and photography.  There's no shortage of amazing new talent in the School of Creative Industries, so much so that Final Shows comprise a huge exhibition of work stretching over two buildings. 

Don't miss it!  

Monday 7 May 2012

Making a plaster cast of a fish

When my friend, Linda Scott-Robinson's husband, Tony asked me to make him some ceramic salmon for his garden, I have to admit that I was less than enthusiastic. I don't know why, but I've just never been a big fan of making pot 'creatures'. However, I said 'okay' and set about experimenting with the shapes and colours of river salmon. Tony drew the shape he wanted and I made a flat test piece directly from his drawing. I covered it a right old mix of glazes and suddenly began to feel a lot more curious about what could be achieved with this here fishy business...


I knew, of course, that the thing needed to be more dimensional and robust to survive the rigours of life in a North Northumberland country garden. Tony (being an award-winning fisherman!) duly supplied me with a real (dead of course!) salmon from which I could make a plaster cast... Oh heck.... I definitely didn't fancy that idea!!

Linda dropped off the fish at my office and I stored it in our staff kitchen fridge icebox until home time, much to the amusement of my colleagues who seemed to think it was an excuse for a 'stream' of pretty bad fish-related puns... On getting the fish home, I quickly put it into the freezer and tried to forget about it.

After a week of it being there, I realised that I'd have to face up to the task of casting it. I got it out of the freezer on Friday night and placed it in a long tub of cold water to defrost... in the garage... On Saturday morning, I had a tentative look at it. It was slimey and horrible and still a bit frozen but it didn't smell much, so I proceeded to rinse it with fresh water and gently clean the slime off, taking care not to damage the skin. After several flushings with cold water and a good pat dry with a bath towel, it looked like it might be dry enough to cast.

Here's a list of all the things I used when casting the fish:

· large quantities of any old poor quality, softish, reclaimed clay 
· 20 pints of water 
· 10 kilos of casting plaster 
· large wooden spoon, large plastic whisk
· large bucket, glass jub
· various pottery tools - loops, ribs, kidneys, scoops, wires, pins...
· long strip of lino
· strong tape and garden wire 
· plastic-backed cloth 
· old towel 
· dust mask

Here's the steps I took:

1.      Lay a large slab of clay on to the cloth. The clay should be as long and wide as the fish with an additional 3 inches all the way around. Make it as even in height as possible across the full length.


2.      Trace the fish shape on to the clay and begin to scoop out enough clay so as to be deep enough to insert half of the fish along its length into the clay slab:


3.      Keep testing the size and shape of the hole and scooping out more clay until the fish fits perfectly, with exactly half of its body above the clay and half inserted. Finally, lay the fish into the clay slab and carefully spread the fins and tail, gently pressing in so that they too are half immersed in the clay. Ensure that the area around the fish-shaped hole is smooth and flat (the flatter and more even it is, the tighter the finished mould will be):


4.      Watch out for the fish sagging over the edge of hole - and compensate for this by cutting the hole bigger if necessary. Sagging on to the top of the clay will create an 'undercut' and make it difficult - or even impossible - to remove clay work from the finished cast.
I really don't like this image, but it does illustrate the saggy nature of a dead fish !


5.      Create locating holes by pressing the handle of a turning tool into several areas of the clay surface. Create a solid 'funnel-shaped' piece of clay and cut this in half along its length, fit on to clay surface flat side down, as shown below. This will create a funnel into which casting slip can be poured (mine is probably a bit narrow). Note in the background all the various tools used in scooping and tidying the clay slab:


6.      Now surround the whole thing with a strip of lino that is tall enough to allow for at least a 3 inch thickness of plaster to be poured on top of the fish.


7.      Secure the lino with tape and/or wire or string. Push plenty of clay up against the outside of it to form a tight seal against the clay inside. My lino was a bit floppy because it was brand new, so I added some wooden boards for support. Using an older, stiffer lino or some metal flashing would have been better.


8.      Time to add plaster... I use the 'island method' for making plaster. I decided that I needed about 10 pints of water to cover the fish and build up the 3 inch thickness. I put all of the water into a bucket, donned my dust mask and then scooped in plaster bit by bit until there was enough plaster in the water to form a little island of dry plaster above the surface of the water. I then gently stirred the plaster with the plastic whisk and wooden spoon until it was smooth and creamy, but not bubbly. Once the plaster began to thicken a little, I poured a thin layer over the whole fish, and ensured a good covering. (Some horrible mucus seeped out of the gills during this process and floated on top of the plaster - I had to remove this carefully by simply laying a sheet of kitchen roll on to the surface of the plaster to soak it up... yuk). I gradually added all of the plaster until the bucket was empty. It's important to get all of the air out of a plaster mould otherwise you end up with holes that can spoil the finish and even cause the mould to crack or break. Gently bang the workbench and sides of the lino to encourage bubbles to burst. Now leave the plaster to set. I don't know how long it should be left for! I'm an impatient sort of person... I left it about half an hour, then removed the lino and flipped the mould upside down and gently removed the clay to reveal a fish embedded in plaster! (It wasn't stuck)


9.      Now to make the matching cast of the other side. Gently clean any clay or other debris from the fish. Add the other half of the pouring funnel, then coat the entire cast (not the fish!) in a thin layer of clay slip using a brush and ensuring that no bare patches of plaster are showing through the slip. Once again, enclose the whole cast in lino and seal tightly leaving at least 3 inches of thickness for plaster above the fish. Make up another bucket of plaster and add it to the mould pretty much in the same way as before. Leave to set. Remove the lino and you will end up with something looking like a fish sarcophagus:


10.  The next bit is tricky... separate the two halves of the mould. Depending on how careful you've been with the slip between the moulds, you may need to work a groove between the two halves in order to separate them. (I ended up shoving a kitchen knife between to the two pieces to break them apart and, in the process, chopped off one of my 'locating nuts'!)


If all goes well, eventually the two halves should come apart revealing a fish-shaped mould ready for use...


I'd like to say that no fish were hurt in the making of this mould, but that wouldn't really be true. Admittedly the fish was already dead by the time I got it to make the mould.
I did feel a bit sad though - it was a lovely looking fish.

Definitely a one-off experience for me!

FIN


Special thanks to Paul Allen from Newcastle College who taught me everything I know about how to make a slipcast mould.


Sunday 6 May 2012

Rolling clay slabs

There are a number of seemingly straight-forward tasks that can cause all kinds of problems for a student potter.  For example, the making of large, good, flat slabs without the luxury of a mechanical slab roller can be a real pain.  Apart from the sheer effort of bashing several kilos of clay into submission, it is always a challenge to ensure even thickness, and bubble-free, perfectly flat surfaces that wont distort under firing. However, when making large slabbed work, the preparation of the clay is critical to success so it is worth making the effort to get things right.

One of the first problems with working with anything bigger than fairly small-sized slabs is that the clay has a tendency to stretch under its own weight when you flip it over between rollings...

To get around that, I've learned to always, always roll out clay on a sheet of cloth.  This also serves to keep the clay clean and grit free (especially important if working with porcelain) and prevents it from sticking to the workbench.  I've found that the best cloth for this purpose is flock-backed cheap plastic tablecloth (the kind that can be bought from Poundland in quantity! Thank you to Jess for that top tip.);  this can be cut to size and washed and reused many times.  

Before beginning to roll out the slab, I stop and think about the desired final shape of the slab - is it rectangular, square, round, other...  ?  Whatever shape I want, I try to start with a block of clay that looks like it might roll into that shape! From the bag, I wire off a large lump of clay, trying to avoid tearing or folding the clay. I then bash this into shape using a combination of repeatedly dropping on it to the workbench, thumping with my fist and patting into shape, again avoiding tearing or folding. Depending on the size of slab I want, I may cut this larger lump into multiple thick slabs. If the clay is uneven in thickness to start with it, it will stretch and bulge in all the wrong places when rolled.  The ideal tool for cutting thick starter slabs is a metal harp as this gives a lovely, controlled, even cut:


Once I've got my clay ready, I lay it on a piece of cloth that is twice is as big as the slab I'm going to roll and begin rolling. I use a long straight-sided rolling pin. A pair of wooden slats of even height serve as guides. (It pays to have a good supply of pairs of wooden slats of varying heights.)


It's necessary to frequently turn clay between rollings in order to ensure optimum and even stretching without dragging or sticking;  this is where the tablecloth comes in very useful. To flip the clay, I fold the tablecloth in half over the clay and then flip the whole thing over, peel back the cloth and carry on rolling the clay on the other side:


The use of the cloth in this way is extremely effective with really large slabs as it maintains the shape and prevents unwanted stretching between flips.  If the clay is particularly sticky it will stick to the rolling pin, so it might be necessary to roll it sandwiched in between the cloth - i.e. just roll on the cloth rather than the clay.  However, it's better if the clay isn't so damp that it sticks to the rolling pin; keeping the rolling pin wiped cleaned between rolls will make this less likely to happen too.

So that's my technique for rolling slabs; other potters may have better methods but that'll work fine for me until I have room to accommodate a proper mechanical slab roller!

For my next trick - making a plaster cast of a 20 inch salmon...  watch this space....


Monday 2 April 2012

The perfect spring day spent at Yorkshire Sculpture Park


On Friday, 23rd March, Simon and I decided to have a day away from work and head for Yorkshire Sculpture Park to see the Joan Miro Exhibition.  We'd been meaning to go and have a look at YSP for about a year and were full of excited anticipation about what we might find there - as if Miro wasn't enough!

Getting to YSP was a breeze;  we came off the M1 South at Junction 38 and there it was!  YSP has an interesting history, set in the beautiful Bretton Estate, once upon a time the home of knights - and playground of kings. These days it depends entirely on public donations and Arts Council funding. Parking costs £5 for the day but there are no other mandatory charges for entry.  There are a number of car parks to choose from depending on whether you want to start your tour indoors or outdoors; tickets are transferable so you can move your car around during the day - and it's even possible to catch a shuttle bus between the galleries on site. I'd advise you to just park up and walk around though.  Bretton Estate and Country Park are impressive and extensive, with beautiful woodlands, meadows, lanes, gentle hills and even a lake; and at every turn there are breathtaking artworks by some of the world's best artists and sculptors - past and present.

Anthony Caro - Promenade.  What a contrast!

YSP provides non-stop sensory pleasure from the minute you get there until the minute you leave!  Simon and I arrived at 10am and left at 6pm and still didn't manage to get to see everything - we plan to return for the Anish Kapoor exhibition in June so we can go to some of the areas we missed. 

Whatever you do - make sure you explore Basket#7! It's fab.
A particular favourite for us both was the work of Henry Moore, of which there are many superb examples at YSP.  It was lovely to be able to see his pieces in real life and appreciate the true scale of them...  to trace their continuous lines and closely examine their carefully worked surfaces.... and even lay your cheek against the curves of metal warmed in the winter sunshine.  Ah.... Heaven.


So, to the Miro.... what can I say?  Lovely.  Lovely, stunning, exciting, funny, lively, impressive.... but most of all it is just bursting with freedom of expression - and was just incredibly inspiring!


The Miro exhibition is complemented with excellent informational resources which help the visitor to get a true picture of what Miro was like as a person - his methods of working and his aspirations - but if you want to get a further insight into the legend of Miro, have a listen to Mark Lawson's Front Row interview with Miro's sons during the opening of the YSP exhibition earlier this year:
http://www.bbc.co.uk/iplayer/episode/b01d2h3h/Front_Row_Miros_grandsons_on_his_sculptures_The_Devils_on_DVD/

I took 300 photographs during my visit to YSP and could honestly write pages and pages about how wonderful the place is and give away all of its delights here in pictures... but that would just seem like a spoiler for the surprises in store.  So all I have to say to any reader here is:  Go!


Click to enlarge


The Miro Exhibition is on until 6th January 2013, Anish Kapoor's exhibition arrives June 2012.   Pick a nice day (don't go in the rain), pack a luxury picnic and a sturdy pair of shoes and prepare to be WOW-ed!